A custom-made army
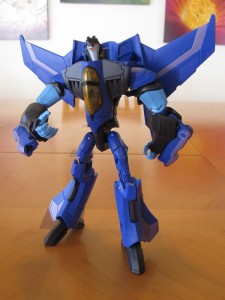
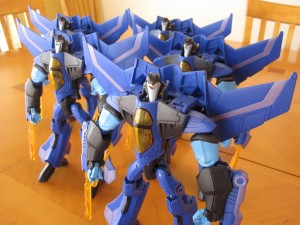
After quite a hiatus, I finally got back into creating custom figures for my Transformers Animated collection. So what project did I choose? To create an army of voyager class Thundercrackers of course.
In my personal queue of customizing projects there has always been this idea near the top of my list: making a version of the voyager class Transformers Animated Thundercracker. In fact, this project has been in the queue since the very beginning.
You see, this particular custom makes up for a toy that we were promised back in 2009 that never saw retail shelves. At BotCon 2009 we were shown the final toys from the Transformers Animated (TFA) line. Of those, a batch of them were eventually made available for purchase, and the other half never saw the light of day.
Voyager class Thundercracker was one of the toys that was never made available. And with Thundercracker being one part of trio of core seekers, the missing figure was a definite hole is many collections.
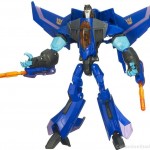 Now mind you, the concept behind this custom and toy isn’t very exciting. It’s the exact same toy used for Starscream, Skywarp, and Sunstorm. It was only a redeco in Thundercracker colors. No fancy additions, no remolding. In fact the color scheme of the toy isn’t all that spectacular either. It’s pretty plain and somewhat boring. To the casual observer, it isn’t really all that big of a deal.
But to TFA collectors, it is considered by many to be a holy grail. An unobtainable figure.
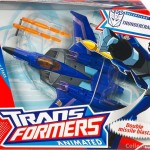 A single copy of the figure, probably a painted test shot, is the only one to have made it out into the world. Photos of a complete boxed copy surfaced in marketing materials, but never in person. I even asked a collector who did a video review online of the sole toy what he had sold him for. I got a reply that he sold it for “multiple digits”. So some version of this guy was out there, and we weren’t ever going to ever have him.
So very early on after getting my airbrush, I procured a voyager class Skywarp that could be re-purposed into a Thundercracker. That sealed figure unfortunately sat untouched until mid-2013 when I dug into this project.
My plan was to match the official toy photos as much as possible. No improvements in design or paintwork. No additional details. I wanted him to look as if he came directly from the factory. Even though the toy colors don’t match the show’s artwork, I still aimed for toy accuracy.
I also figured, somewhat naively, that while I was doing one; it might not be too terrible to do more. And I knew my local AZ collector friends would jump at the chance to own a version of this toy, even if not official. I assumed that since his deco wasn’t too detailed that the mass-production wouldn’t be all that bad. So I put the call out to 4 locals, “provide the base figure and I’d paint him up.” And shortly thereafter, I had 5 voyager class base seekers: my Skywarp and 4 Starscreams.
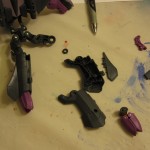
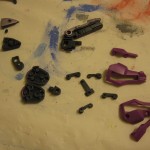
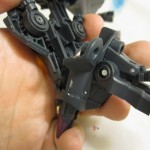
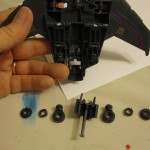
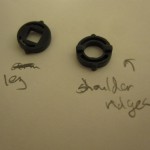
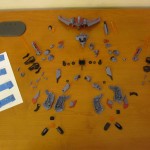
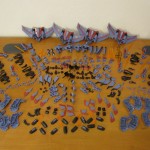
As I was disassembling my Skywarp, the part count began to grow. Piece by piece I unscrewed panels and popped off parts. Then I got to things like the toy’s hidden arm cannon gimmicks and saw the multiple tiny parts that made up the mechanism. I took photo after photo, trying to discern and hope that I could put these crazy mechanisms back together.
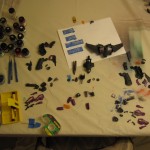
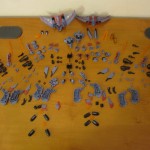
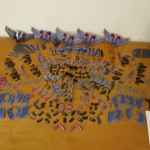
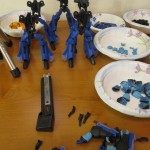
So after about 3 hours of constant work one night, the 5 figures turned into several hundred parts, pins, and screws. My extended computer desk was covered in pretty much nothing but pieces of plastic. This was the largest figure I had customized to this point, and I here I was doing it 5 times over. “Hoo boy”, this might be more than I bargained for.
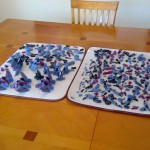
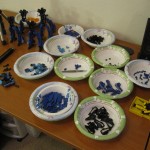
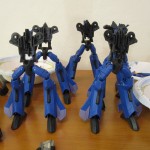
The next steps followed my standard process: wash each part in soap and water, dry them, and then separate into different bowls depending on the base paint color needed. Then it was time to begin painting.
I planned on using as base paint colors directly out of the bottle as often as I could. The more that I’d have to mix, the higher likelihood that I’d run out of the custom color midway through the project. And mismatched parts at the end would be devastating to the final product.
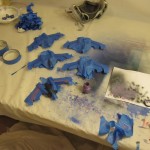
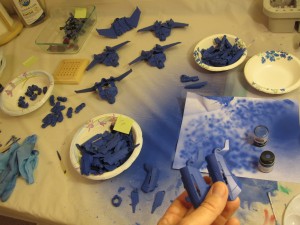 I started with Model Master Acryl Ford/GM Engine Blue on some mini wings as a test. This base blue was as close as I thought I’d get to the plastic color needed, but it ended up being a bit too dark and a bit too metallic. I unfortunately had already purchased 3 bottles as while I ramping up for the production. Oh well.
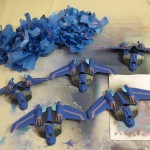
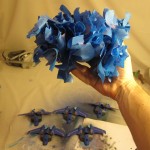
Fortunately, my second tests with Model Master Acryl Cobalt Blue led to better results. The only drawback is that the base paint is very flat, almost to a point where it’s chalky. Another experiment shortly after this led me to try glossing the paint, which worked surprisingly well. Spraying a bit of Future Floor Polish (yes floor polish), added just enough sheen and glow to make the paint pop. Future is like a thin, clear acrylic paint. In fact, the test parts looked really, really close to the blue plastic I was aiming for. With that test successful, I began painting several hundred parts blue.
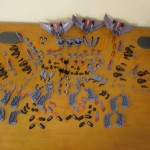
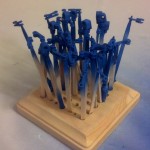 Over the course of maybe 2 weeks of on-and-off nightly painting, the majority of the project’s base coats had been completed.
As it turns out, the custom mixed colors weren’t all that bad to create. A violet/pink purple for the wing stripes, and sky blue for their hands and biceps. Simple stuff considering the scope of the project.
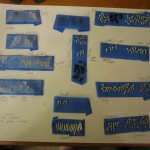
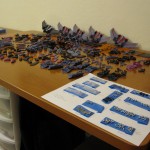
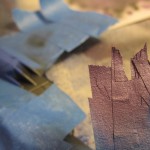
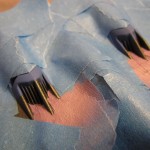
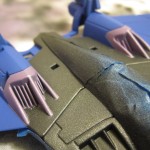
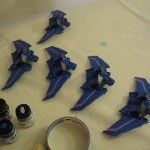
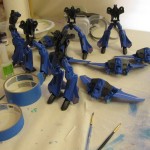
Unfortunately the masking of each hip wing (20 overall with double sides), and the main canopy piece took a long time. In fact, the main canopy had to be painted in several stages. Each time masking off 90% of the part just to get a particular paint app perfect. The intakes on these canopies were also kinda crazy as you can see with the mask I ended up making to get them just right. And then the heads were “lots of fun” to paint too…
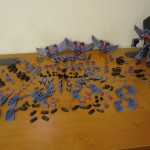
By this point in the project, I had worked through two entire weekends just painting. Each Saturday and Sunday, from sunrise to well past midnight I painted. Bowl after bowl of parts were sprayed, inspected, touched up, and glossed. Multiple bottles of Cobalt Blue ended up empty. The grind of this project was starting to hit, and in all honestly I was very much looking forward to being done with it.
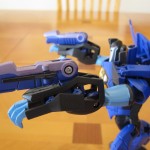
I was also noticing that I had painted over some of the metal pins that I couldn’t remove during the dis-assembly process. So then I made the decision to hand paint silver on each pin and hinge to make it truly look factory fresh. I even painted some of the springs. Those touches added that little bit of extra authenticity that was needed.
I had also begun to put parts together, such as the legs, while other parts dried. I’d paint one part, and then assemble another. I was putting the army together from the feet up. From his toes to his waist things were going fine. Unfortunately trouble arose when I got to those hidden cannon mechanisms.
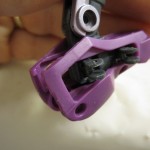
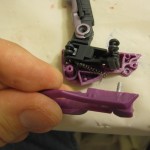
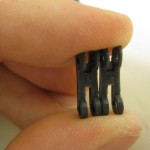
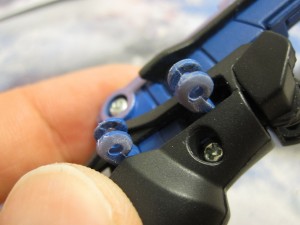 As it turns out, there is no rhyme or reason to how each of the hinge pieces go together. I didn’t know which ones were supposed to be in front, which went in the back, which arm they were supposed to be in, and the like. And after I had started putting them together, I found that due to clearance and rubbing issues, certain copies of the arm wouldn’t close all the way.
So after much hair pulling while trying to solve the problem with brute force; I decided to test each arm (all 10 of them with 8 parts a piece), take them apart if they had issues, sand down the hinges, repaint the hinges, and then reassemble each arm. This step alone was an entire evening. All this work for a feature that would rarely, if ever, be seen.
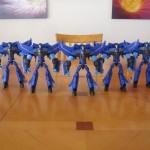
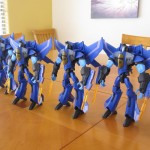
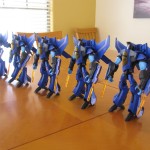
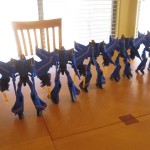
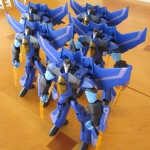
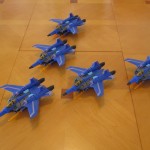
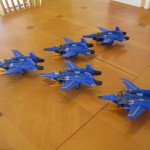
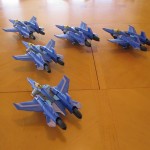
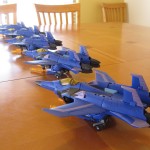
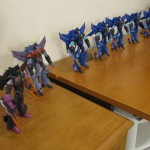 But finally nearing midnight on September 14, a little over a month after I started, I had assembled a fully complete army of Transformers Animated Thundercrackers.
The next day I did a bit of additional customizing work (described later in this entry) and then decided to take photos of the crew. I set up multiple group shots and took all the detailed photos I usually do at the end of a project.
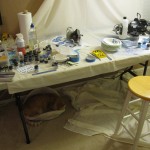
With that done I decided to put away my gear. I cleaned up my customizing table, put away my tools, condensed all my paint bottles, did a full chemical cleaning of my airbrush, and put everything else away.
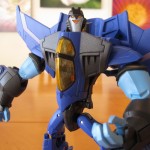
Then with everything stowed away I looked back at the reference photos on my computer one last time and noticed something… I missed one paint application on each of them.
I grumbled.
To solve this the next day I hand-painted that last bit, and then I had the full army completed to my satisfaction.
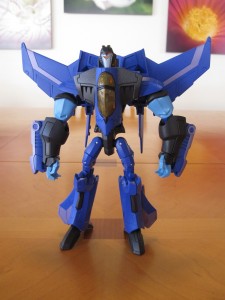
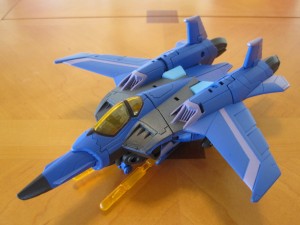
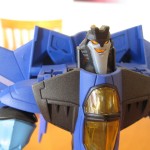
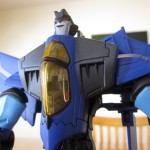
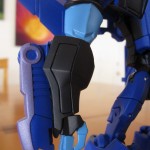
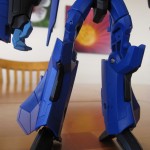
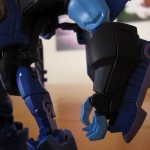
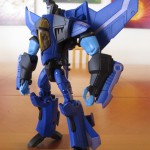
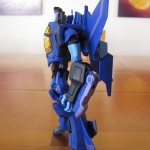
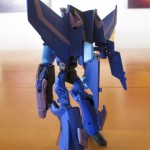
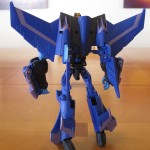
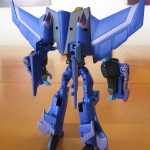
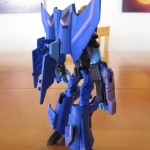
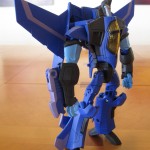
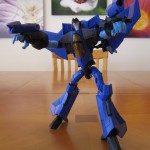
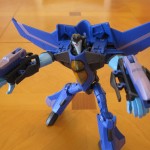
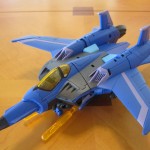
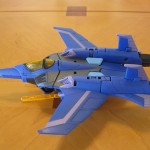
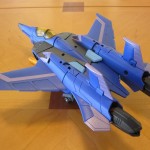
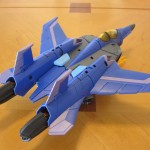
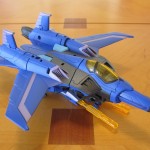
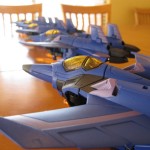
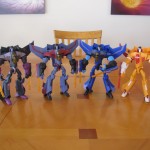
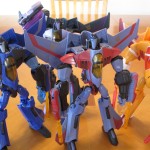
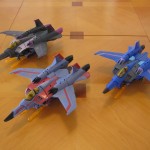
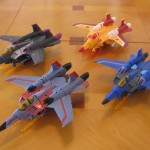
The final output is actually kind of amazing. They really do look like the unreleased toy in my honest opinion. The blue is pretty much spot-on to the original photos, as are all the other colors. Each paint detail is there, and every pin and screw is visibly metallic.
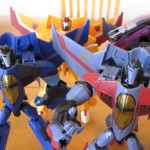
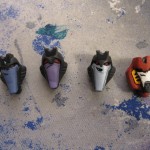
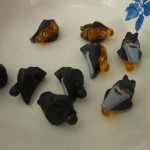
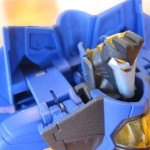
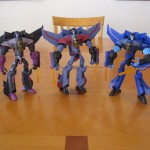
The tiny bit of additional work I mentioned above was some paintwork on a set of custom heads I purchased from TinMan.A.H on TFW2005. I wanted to make my seekers stand out a bit from the retail releases, and so I painted this alternate set of resin heads to better match the characters’ profiles. Starscream matches his body’s color and has an Allspark fragment stuck in his head, Skywarp looks fearful with giant eyes, Thundercracker is smirking to match his ego, and Sunstorm has his G1-seeker helmet that he received in an episode of the show. I like the bit of flourish these add to my figures.
The only thing that is missing from these guys are their gold Decepticon emblems. Unfortunately I don’t know where I could procure or make these, and I wasn’t about to try to spray something that intricate. In all honestly, I barely notice that they are missing but I assume we’ll come across a solution in the future and apply them then.
So to sum up; looking at the entire project, I’m estimating that I used about $50 of materials and spent about 100+ hours creating these guys. Again, like the Copperhead project, the workload for this far outweighed my original estimate. I don’t mind that I did the full set, but I really ought to think a bit more about a project before I tackle something like this again.
In the end, I’m still tremendously proud of the achievement.
I’m most certainly going to be taking a sizable break before my next project, which will most likely be a single, smaller figure.
As stated earlier, all 5 are already spoken for.
I will close by saying that along with Thundercracker being in my original customizing queue, so was the other TFA seeker that we never saw a toy for. I’m sure I’ll get to her eventually, considering that I have another Skywarp and a pre-cast head at the ready. I’m sure when I reach that point, I’ll be more comfortable altering the figure to give her a proper toy for my collection…

Fatal error: Declaration of Social_Walker_Comment::start_lvl(&$output, $depth, $args) must be compatible with Walker_Comment::start_lvl(&$output, $depth = 0, $args = []) in /home/floating/floatingcat.com/wp-content/plugins/social/lib/social/walker/comment.php on line 18